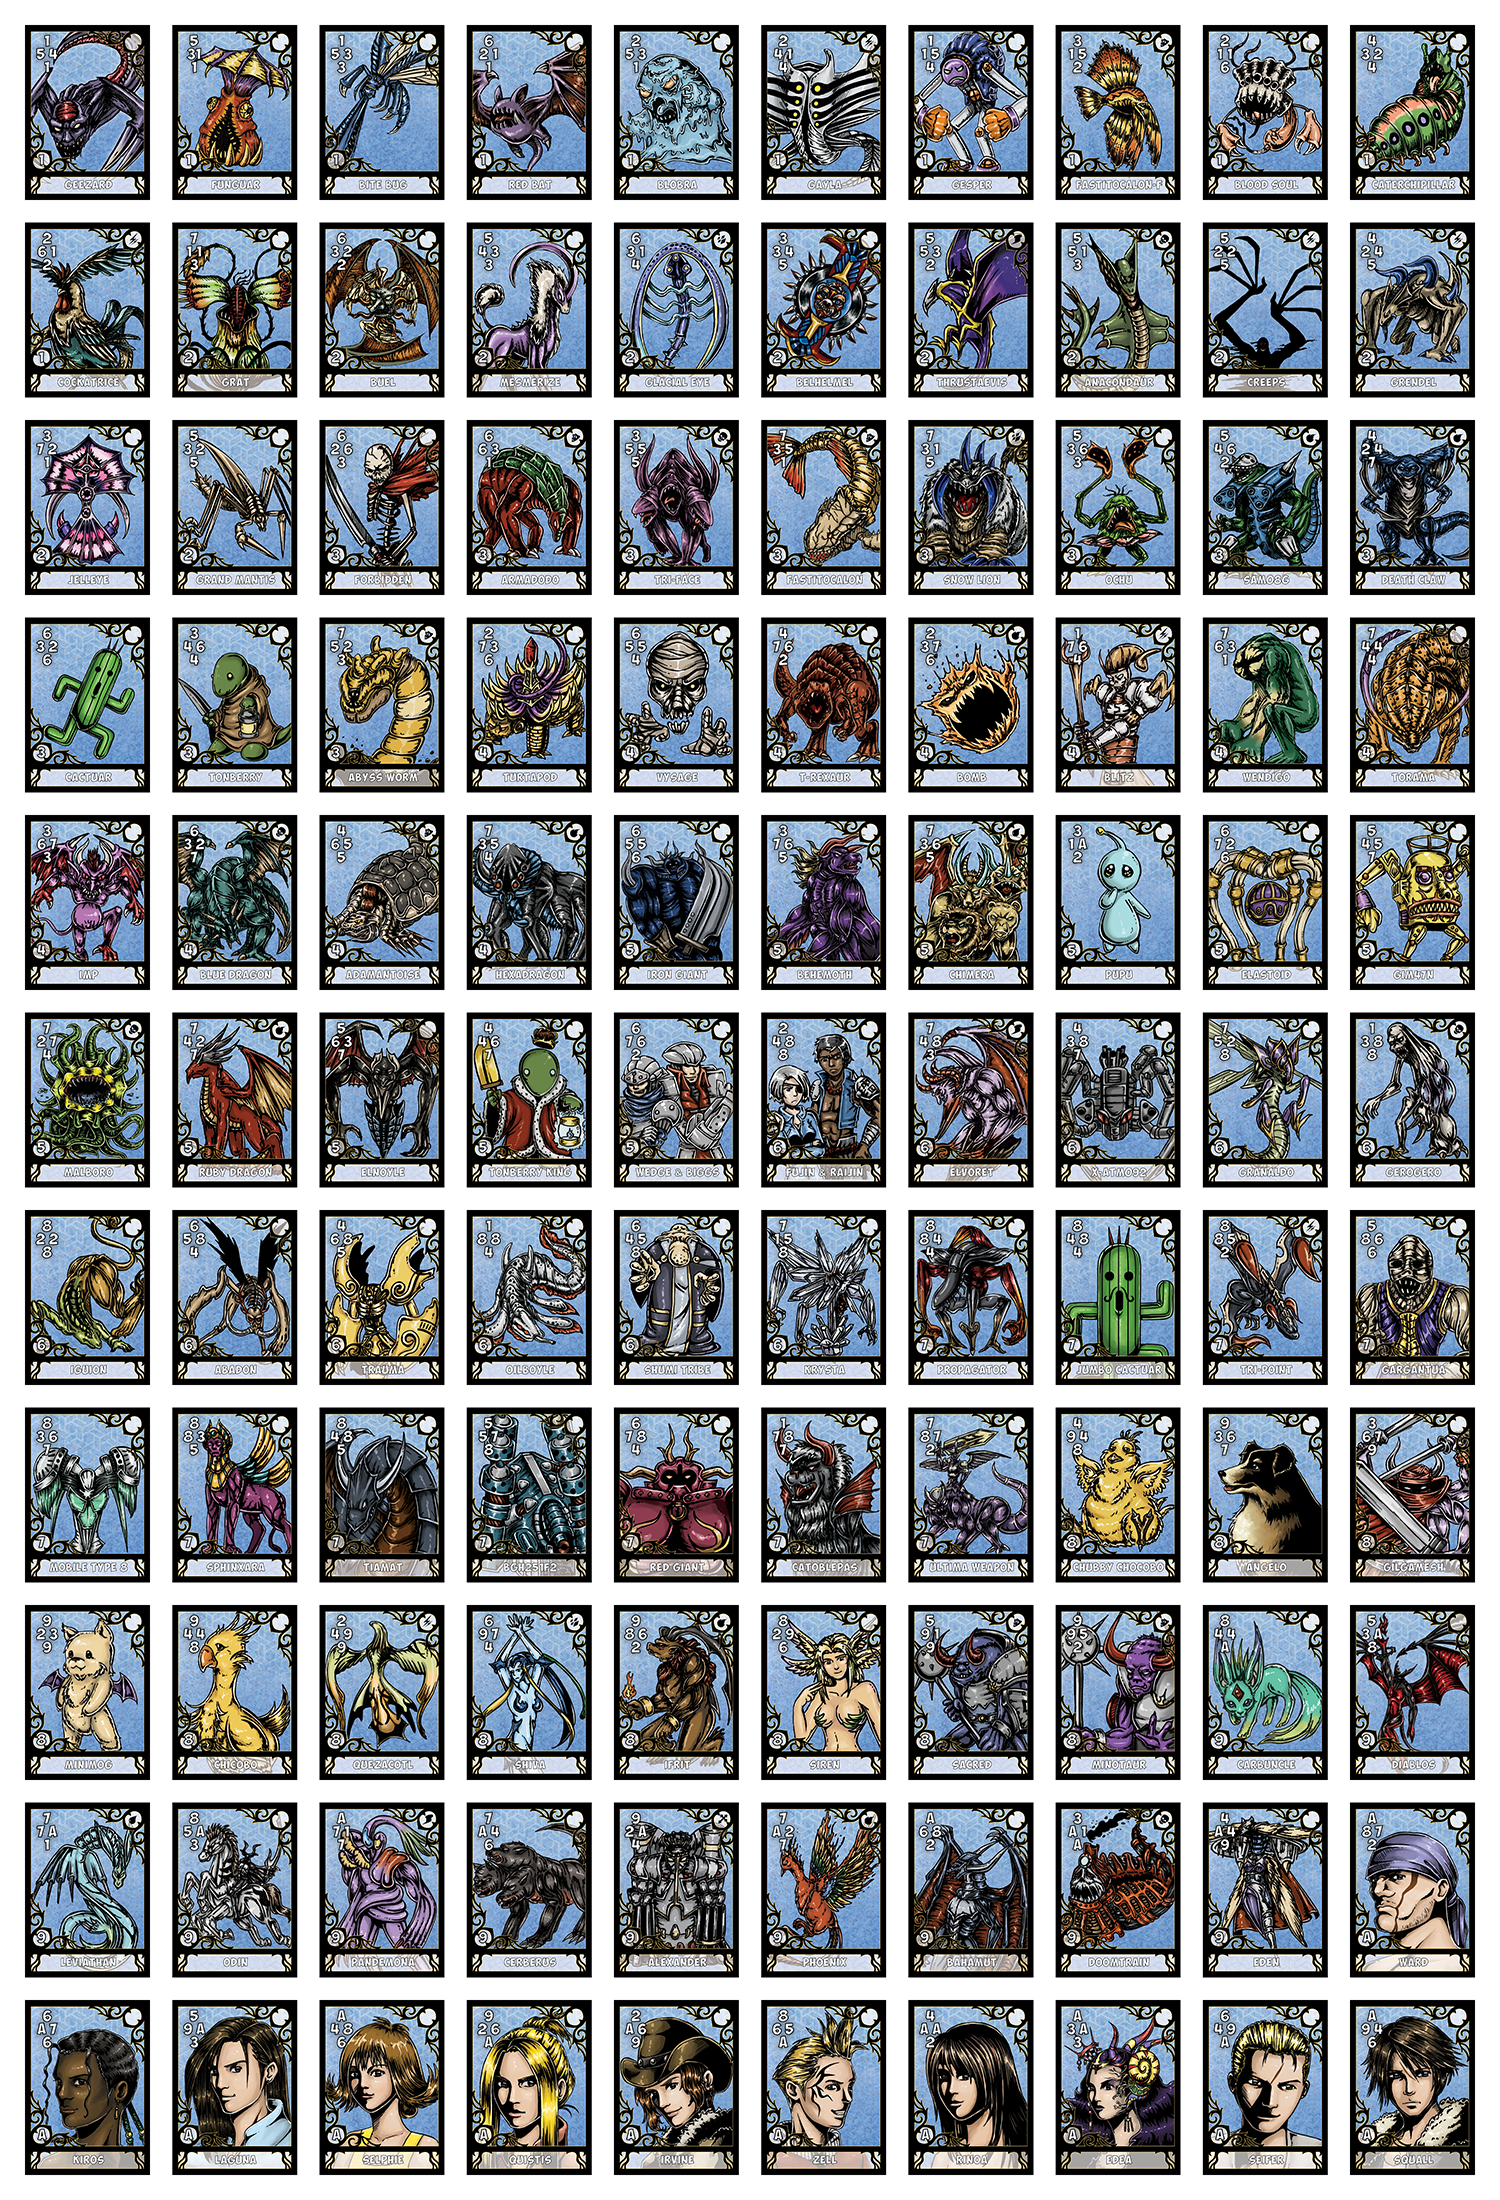
 View Full Set: Blue | Red
Full Playmat
Elemental Board Randomizer
PDF of Instruction Booklet
Purchase on Etsy
View Full Set: Blue | Red
Full Playmat
Elemental Board Randomizer
PDF of Instruction Booklet
Purchase on Etsy
Concept
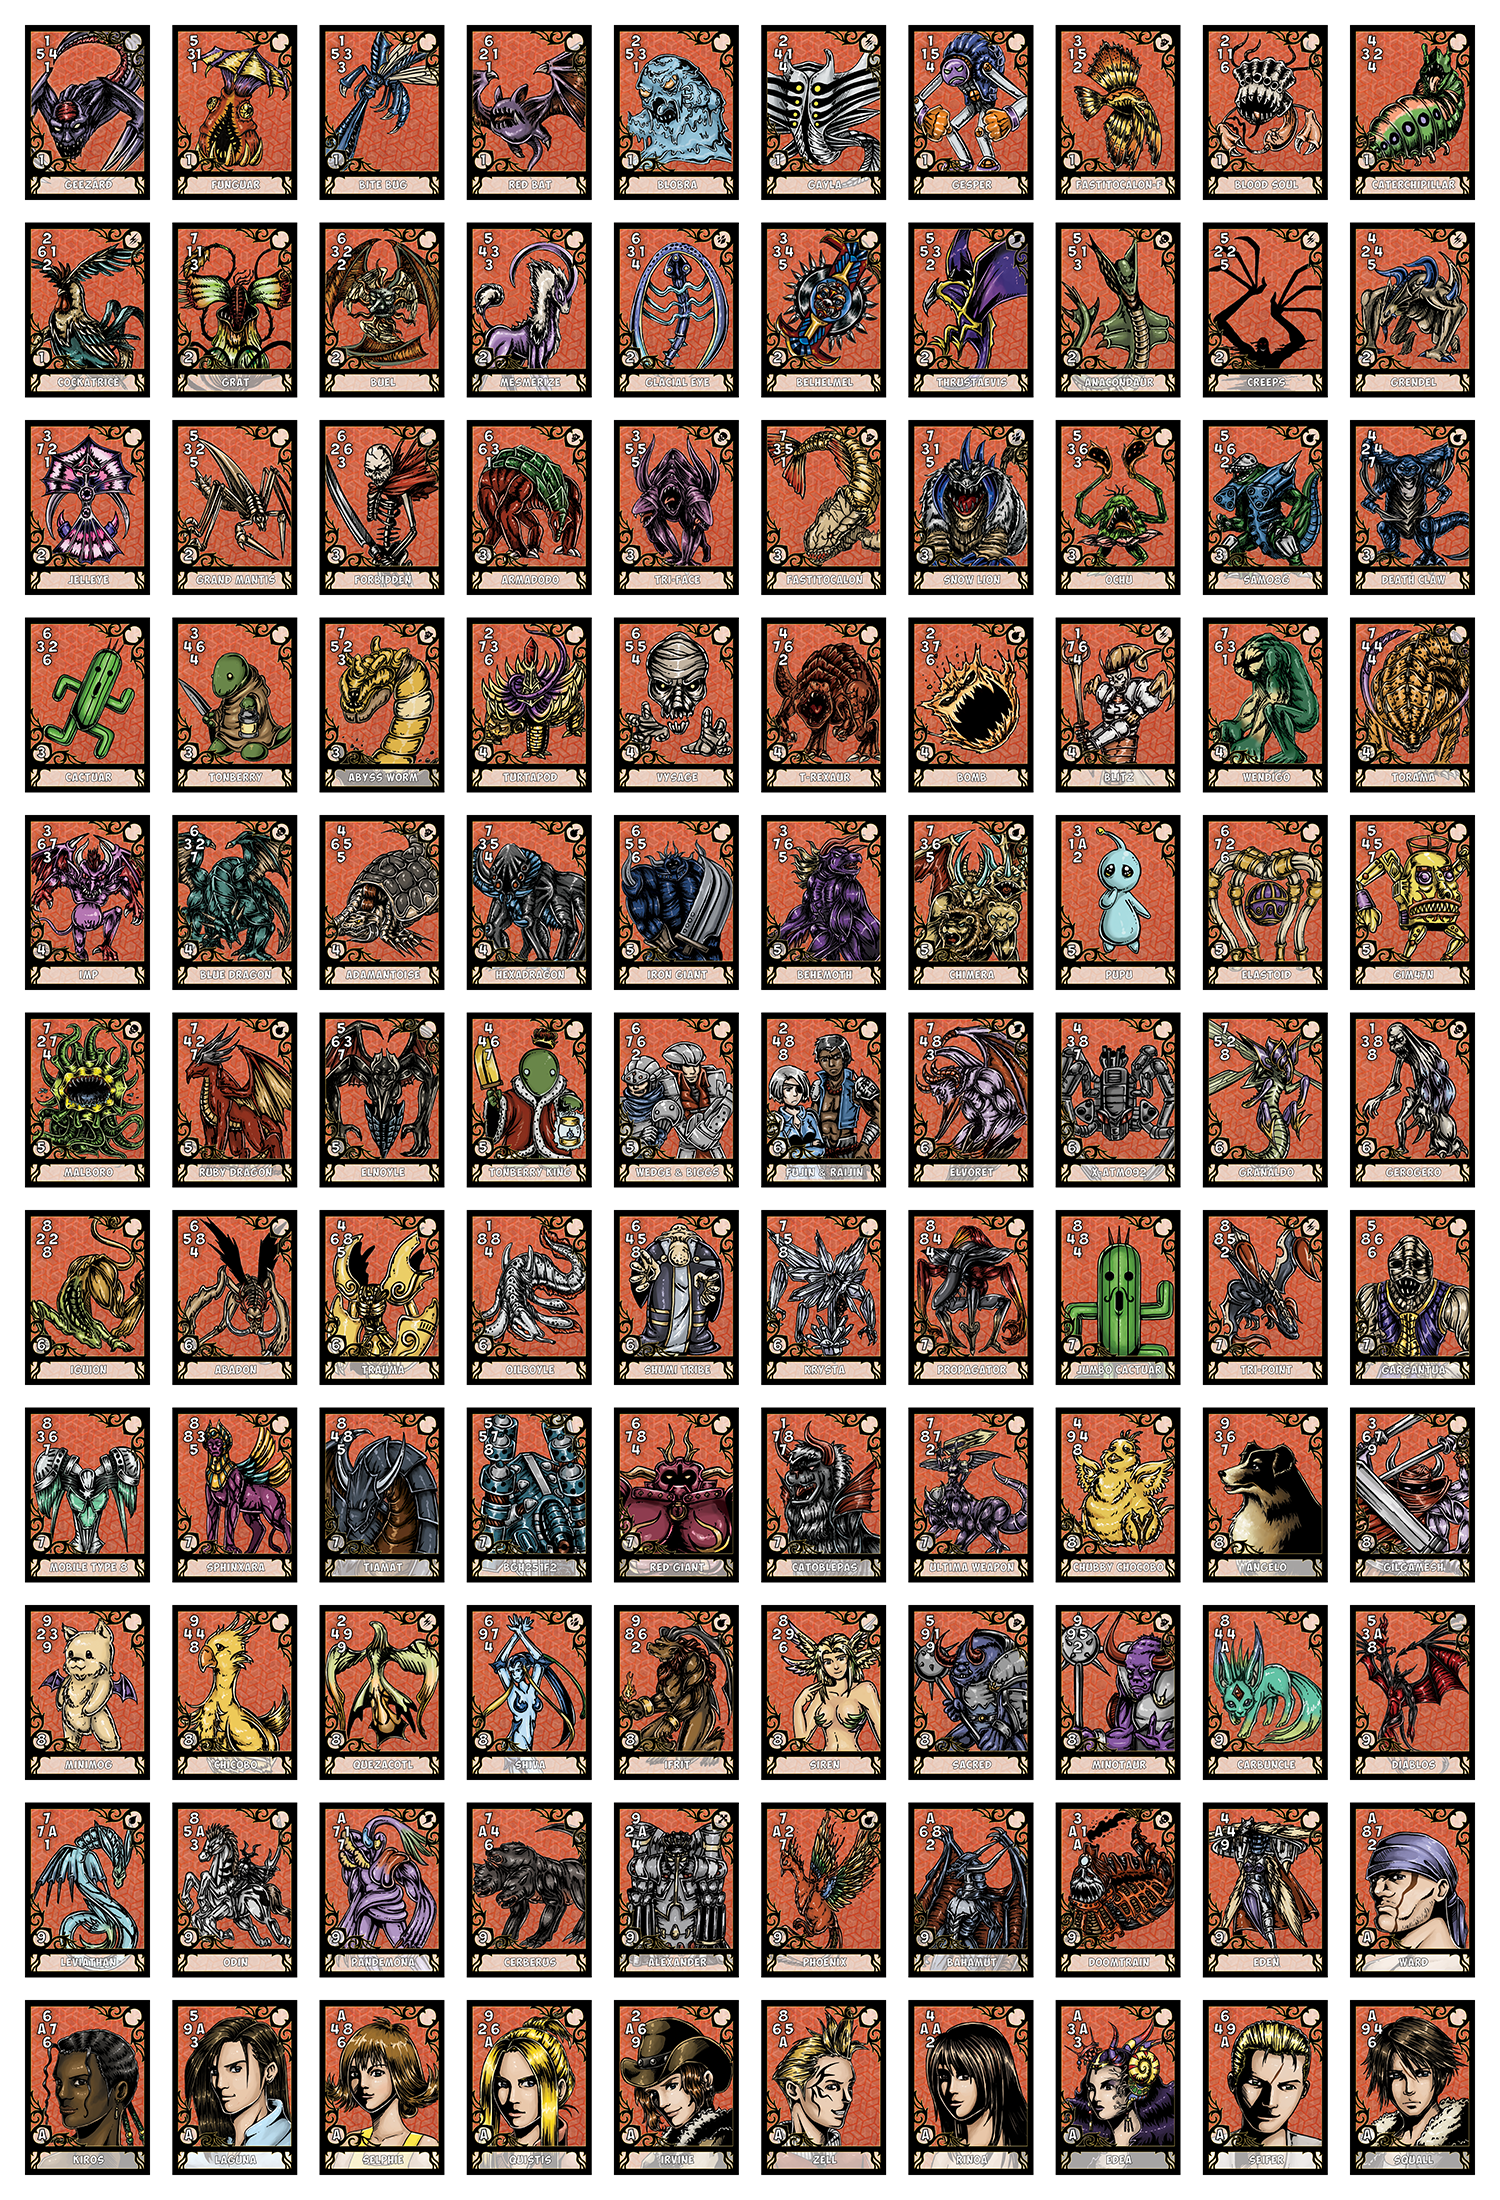
One of my old friends loved Final Fantasy VIII and harbored a particular fondness for the Triple Triad card game within. For their birthday I wanted to purchase a paper copy of the game, only to be upset and astounded that the now out of print, limited release, geographically stifled game was thousands of dollars! That was completely out of my price range. Frustrated, I felt like there must be other people in the same boat as me, people who wanted a paper copy of the game but didn't want to spend an arm and a leg on it. Thus inspiration! I thought that perhaps I could create a paper copy of the game. But instead of simply printing off low-resolution pngs of the actual game I figured I'd take it up a step and re-do the aesthetic of the game, since I wasn't too keen on the flat gradient background and low polygon count game models they used on the cards. I decided to opt for a high-contrast comic-book style because I believed it would be both striking and easy to color.
 The original triple triad cards
Method
First I knew they were going to be Magic card sized (2.5"x3.5"), so I took a Magic card and used it to make 9 spaces on a sheet of paper and set myself to work sketching. After sketching was inking, and then after inking was scanning, centering in photoshop, and coloring. I knew the game was rules-light and the art would dominate most of the card, so I decided to use the whole bounds of the image.
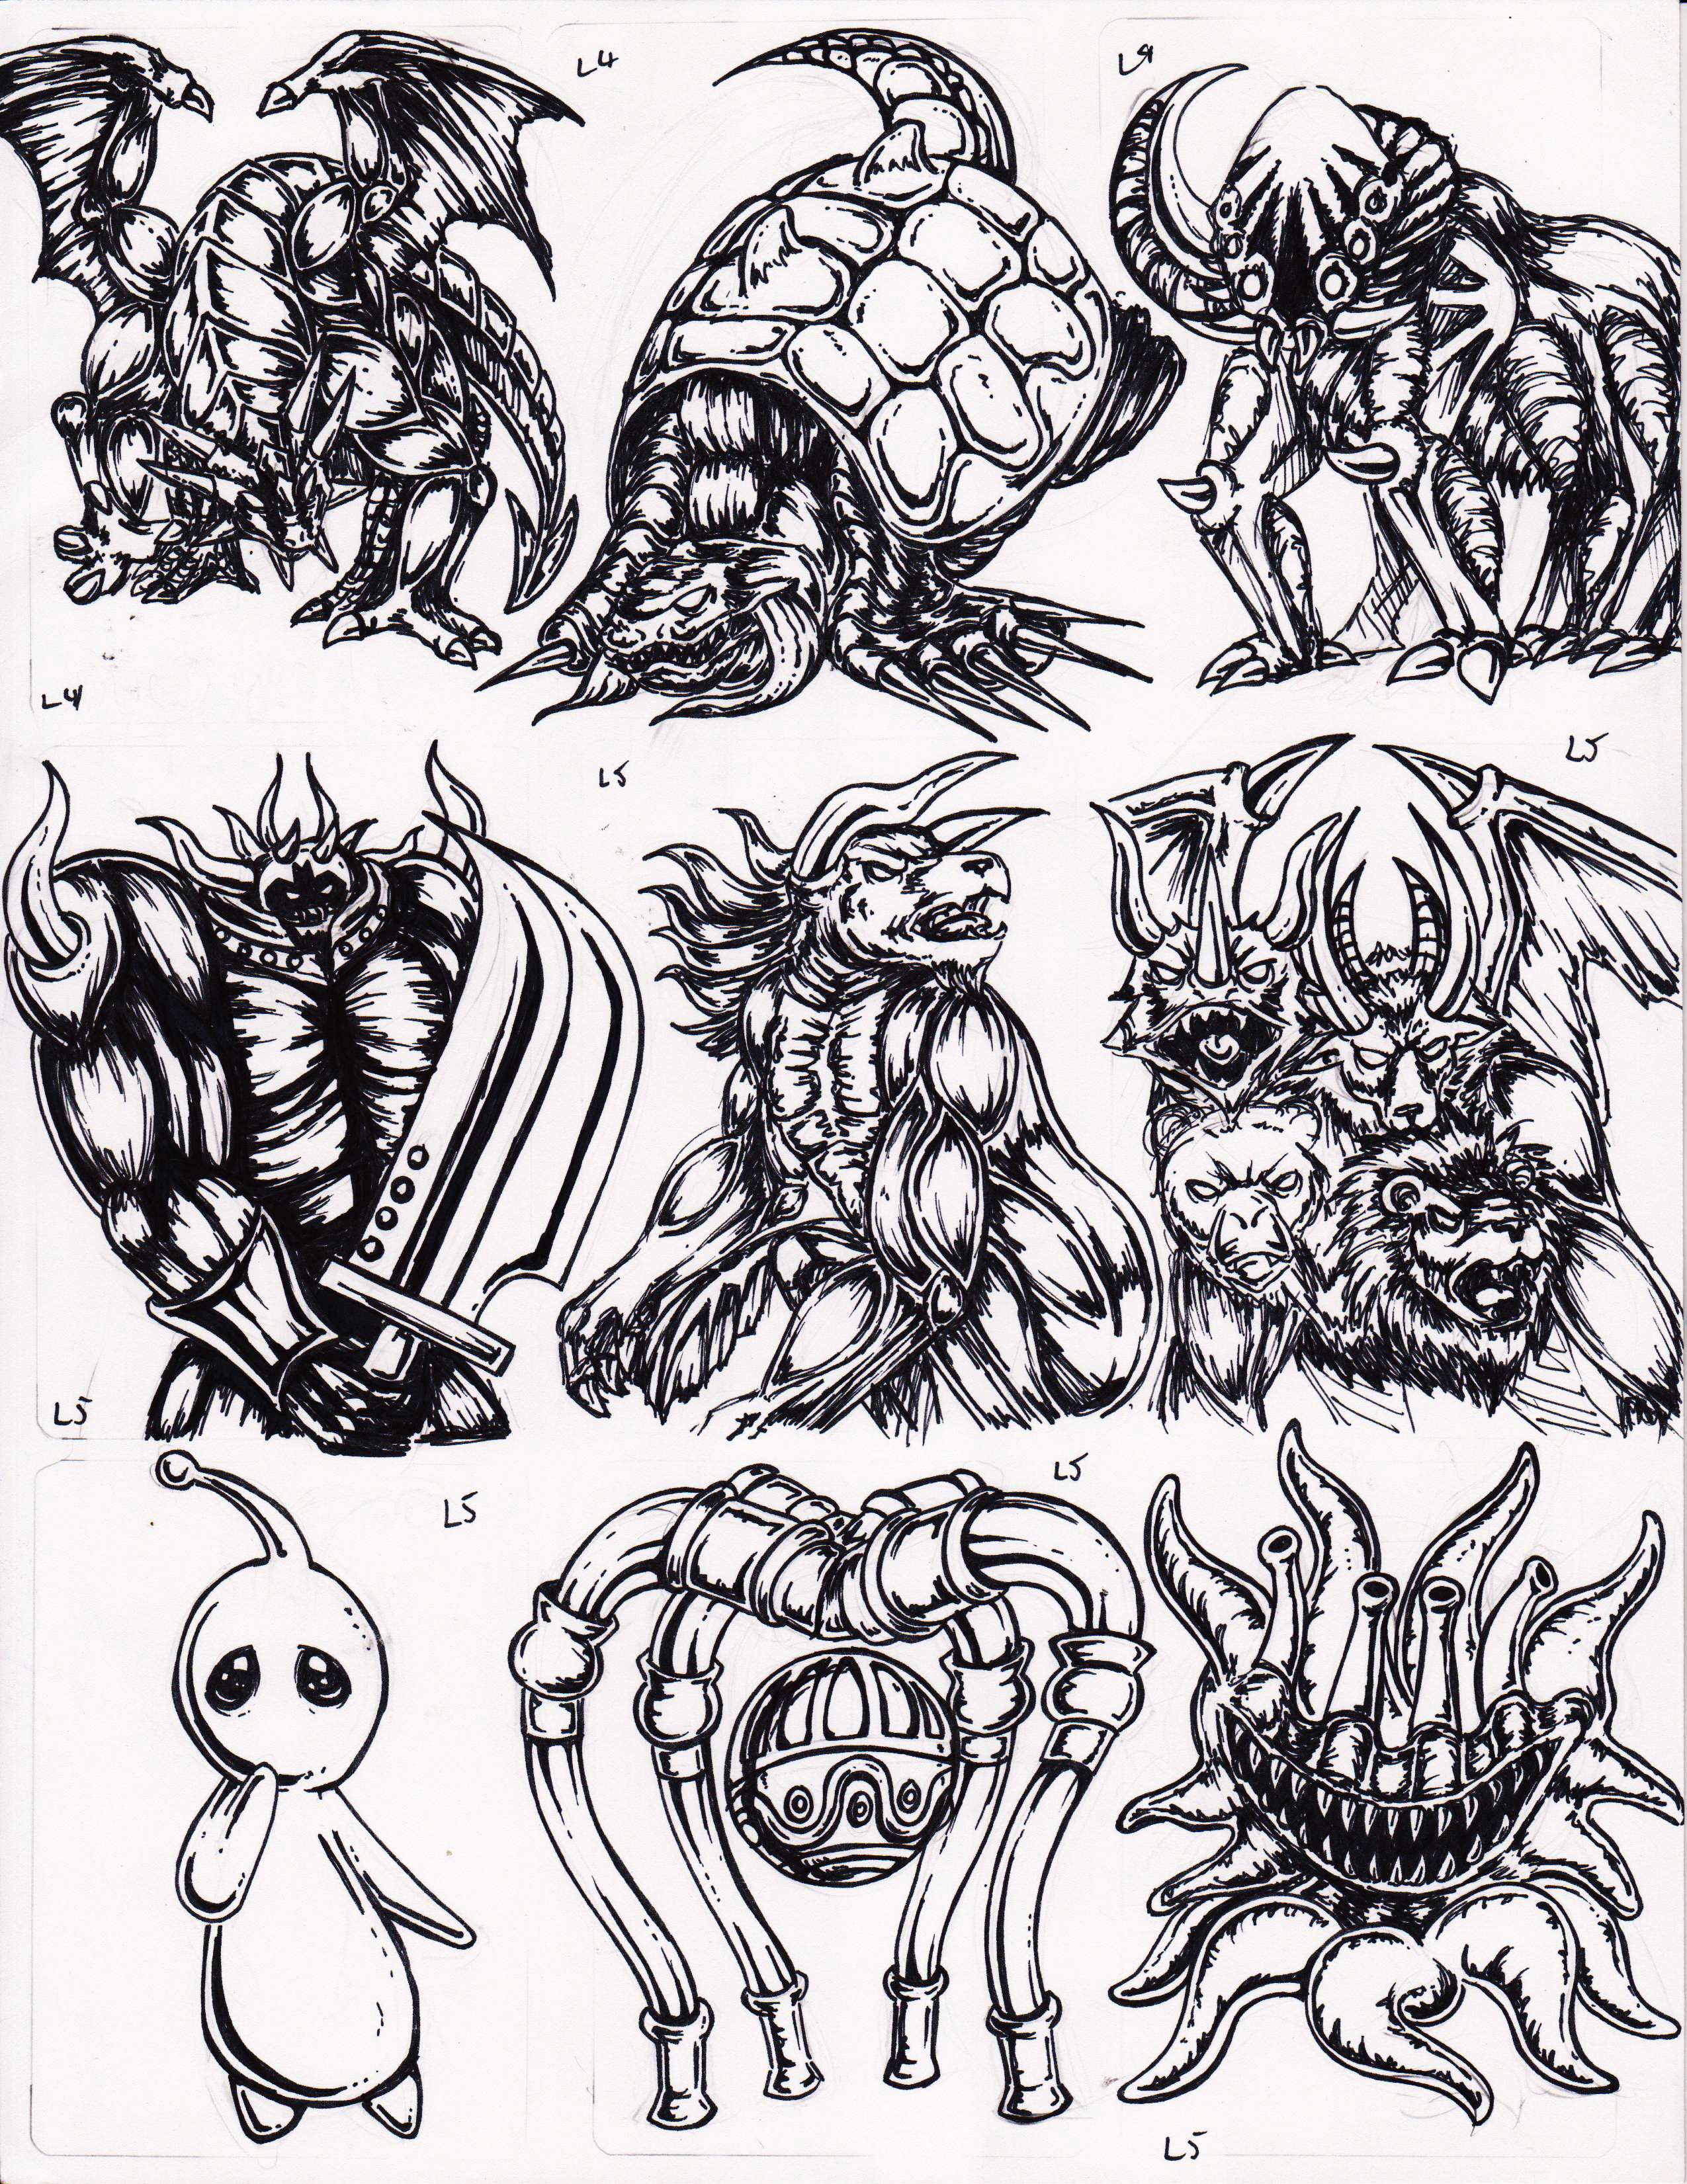 A sheet of inked cards
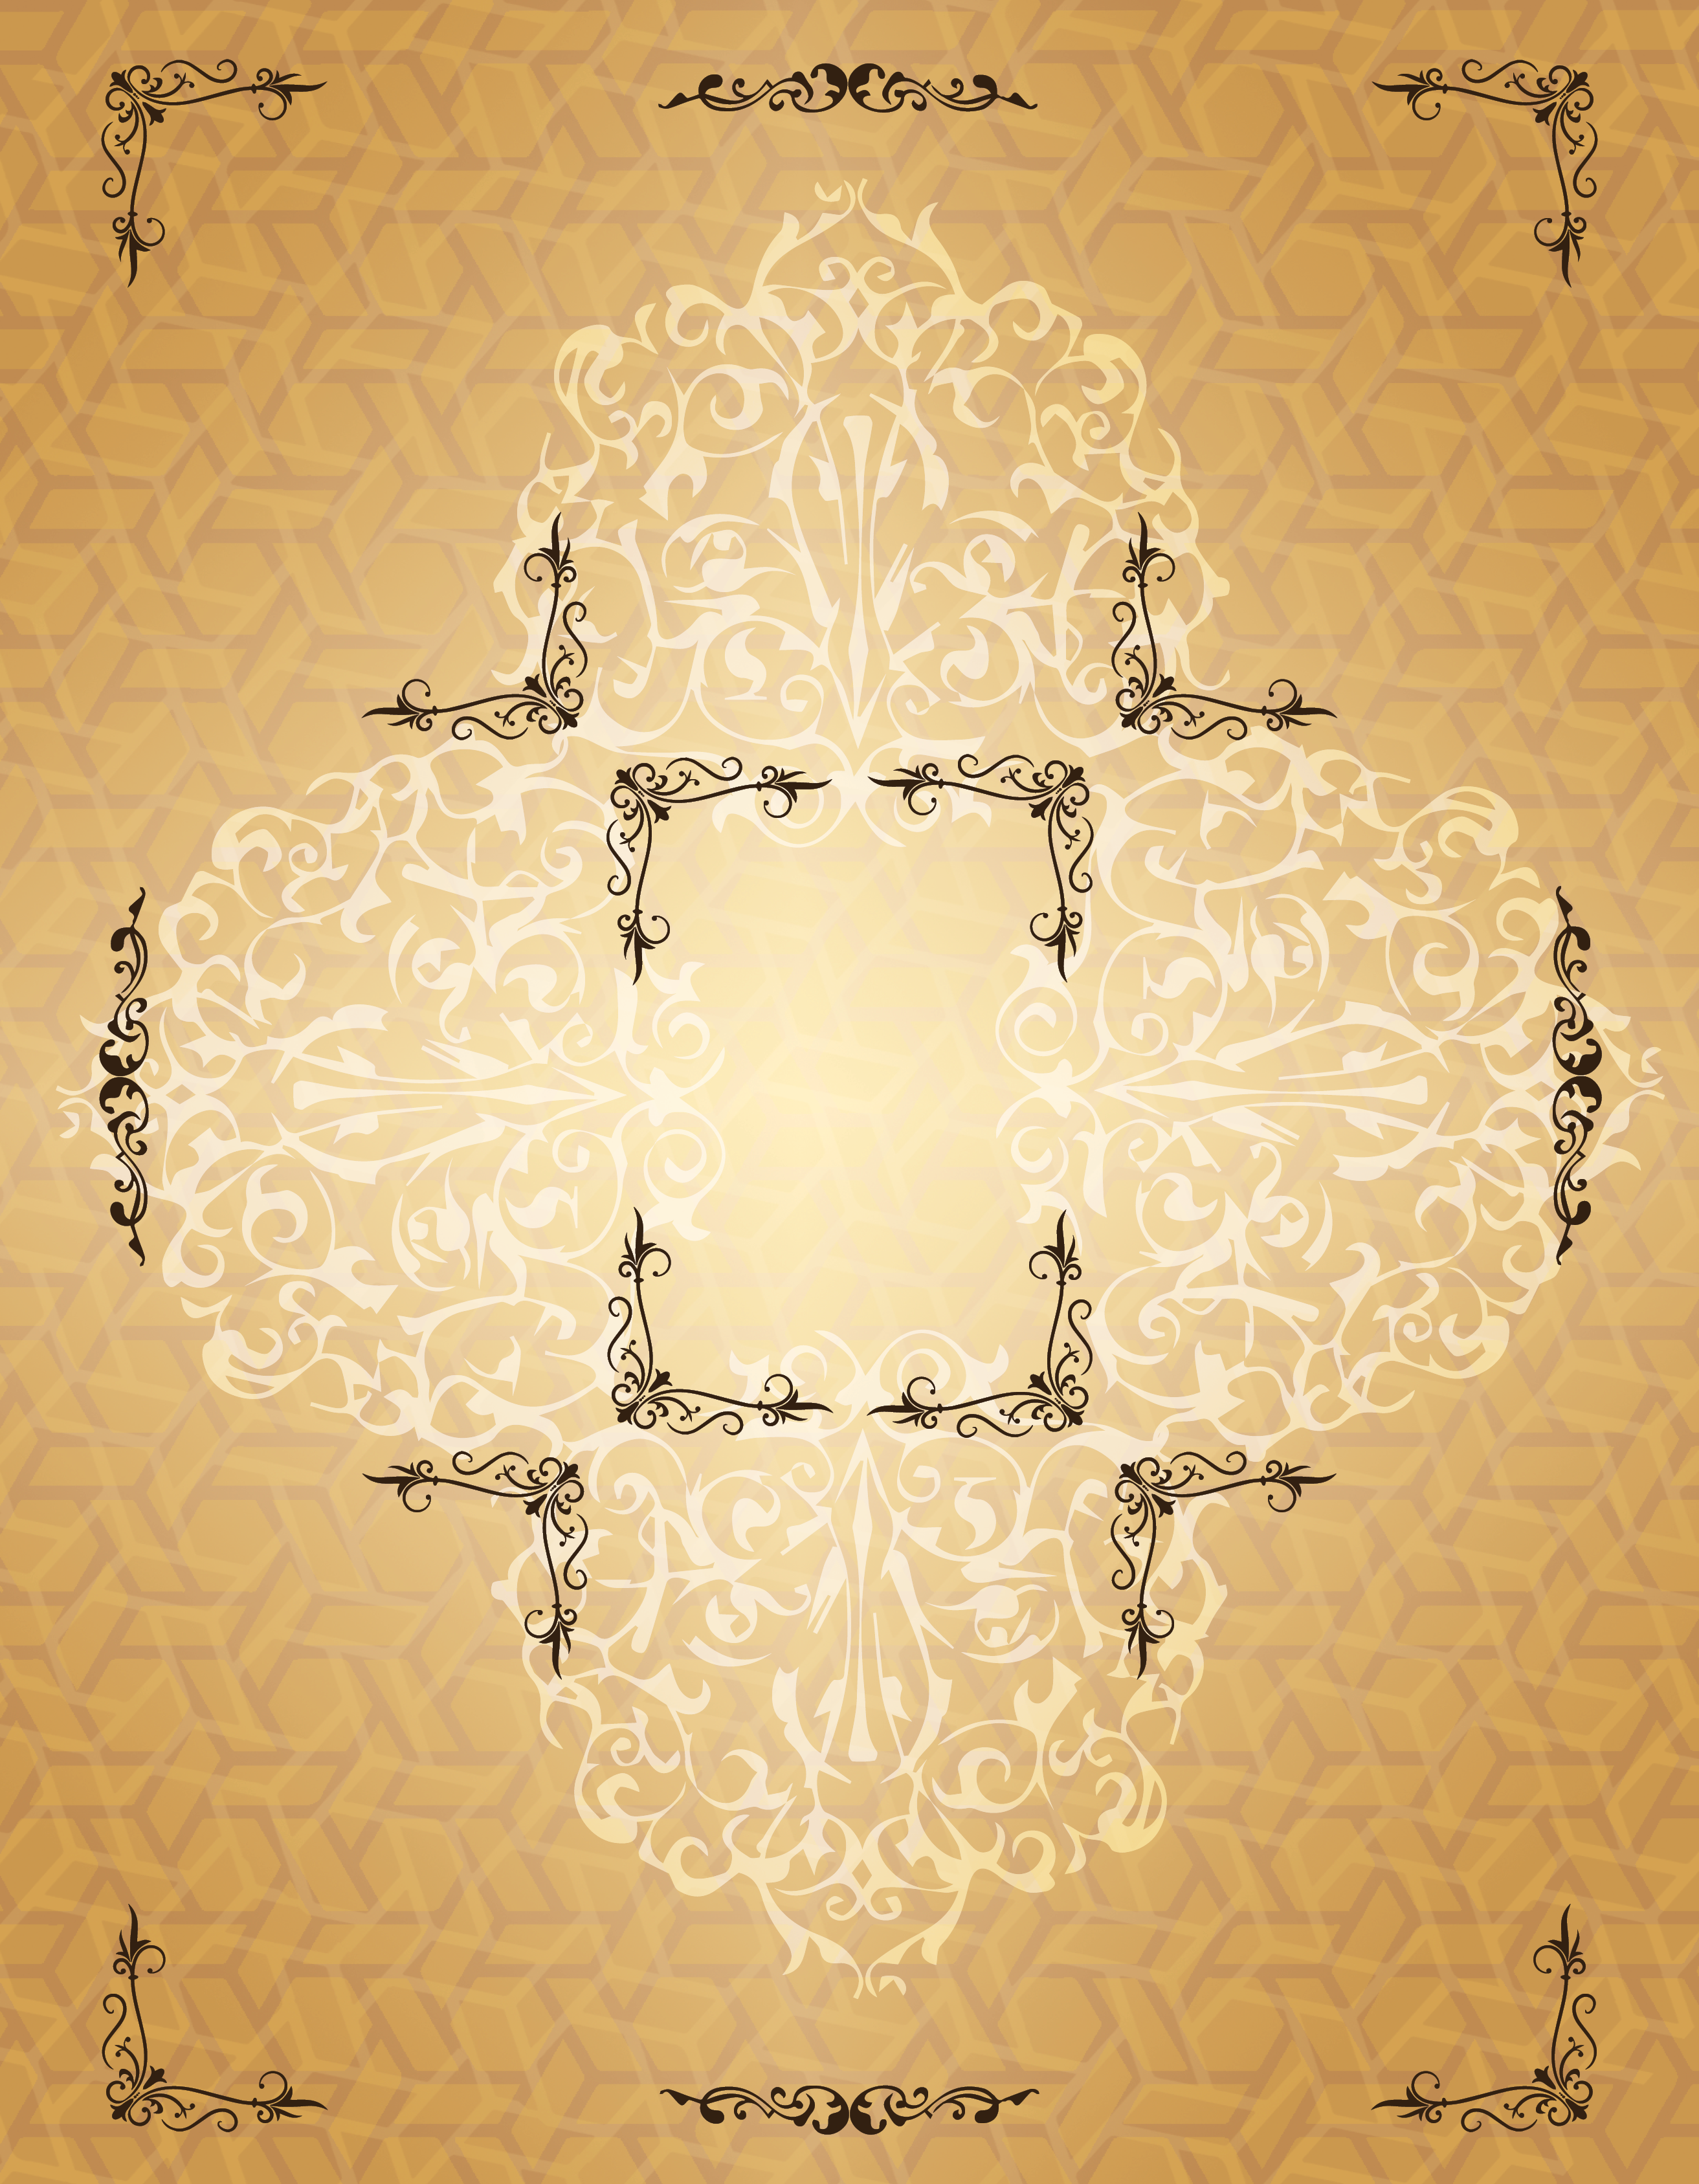
Afterwards I put together the template in InDesign. I knew the front had to be blue and the back had to be red. I wasn't a fan of the gold border and since I was doing something a little bolder I opted for a black border. I drew it on paper and made sure to leave a space for the card level and the element. I decided to give the background a texture as well, to help the images themselves pop a little more. Then I picked a font and brought everything together.
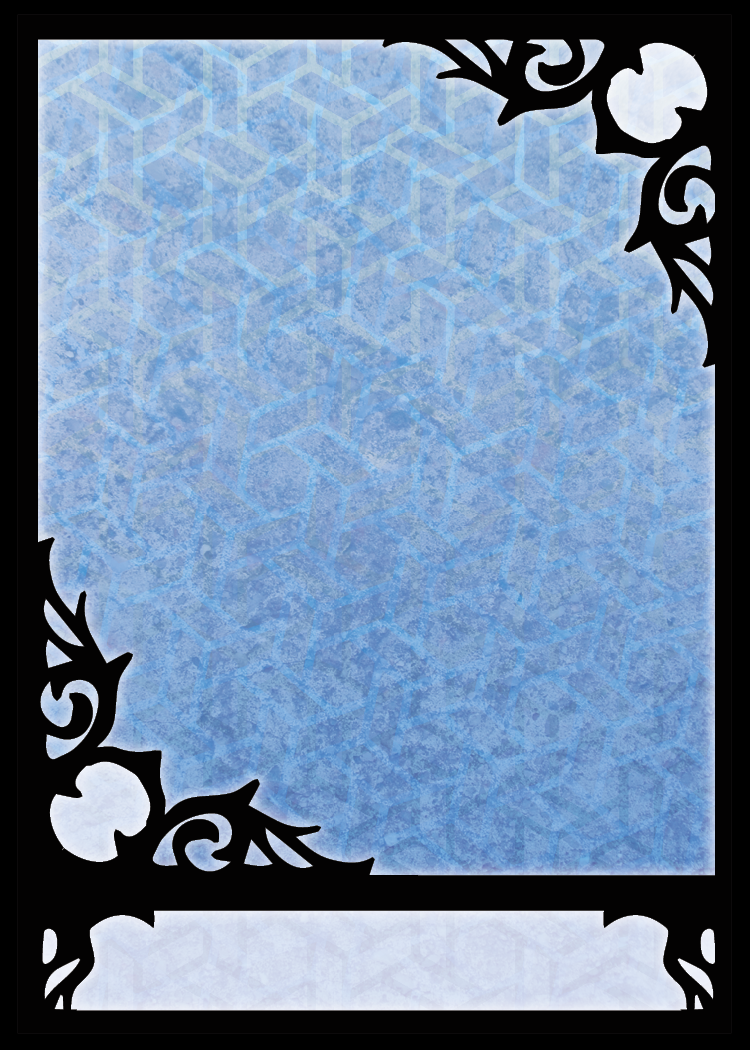 The blank border template
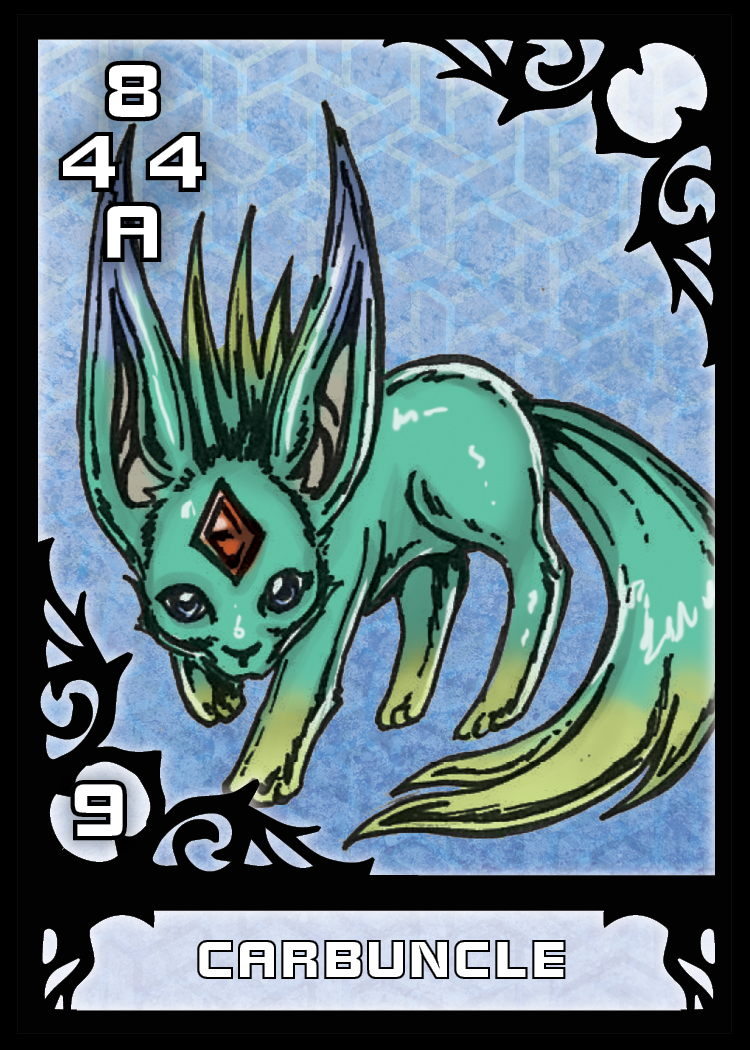 A completed card
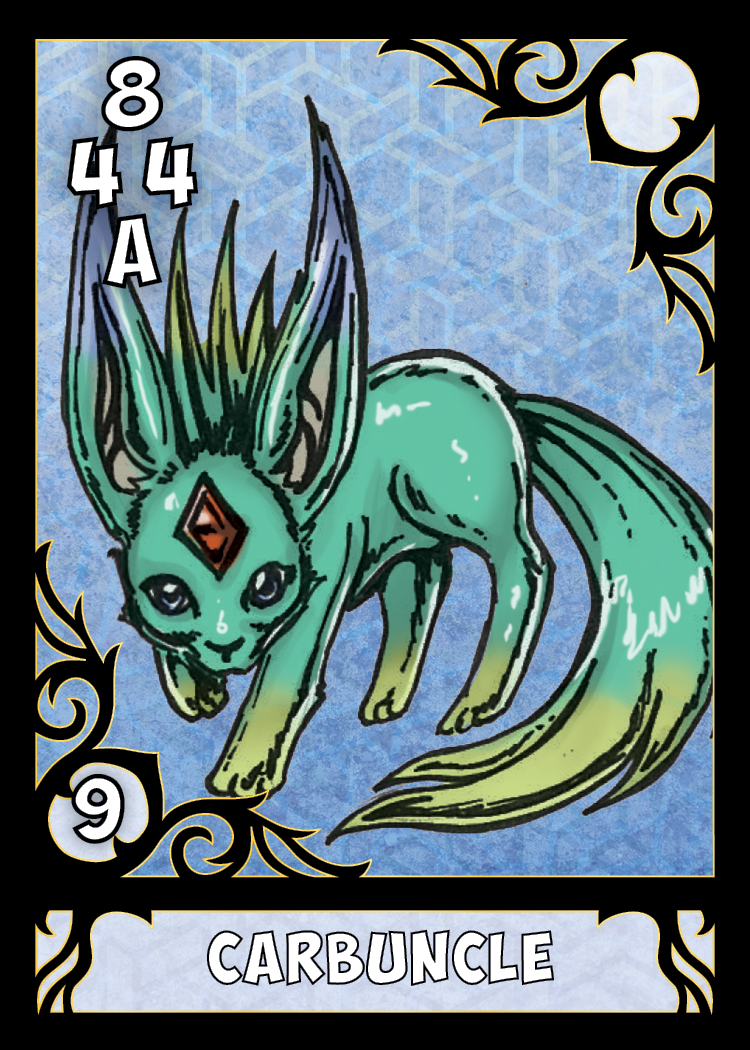 A completed card post revisions
One of the other interesting challenges with this was the fact that it was my first actual "game" and if I wanted to bring it to sell at conventions I was going to need to have some kind of rules insert. This was especially difficult for me since I really despise working with large blocks of text (which is all a rules insert is really). The game is usually played on a 9x9 grid, therefore it would also need a mat. I decided to condense the rules down to one page and on the back have the game mat (like when you buy Yugioh cards, the rules insert folds out into a mat.)
 The front & back of the rules insert
Fast forward four years and I'm still selling a lot of Triple Triads, but I'm a little embarrassed by how unprofessional it feels, with just a shrink-wrapped set of cards in a paper box. While it is very charming, it also feels very "indie". I decided that I could do one of two things with this project; I could retire it or I could update it and make it into something I could be proud of again. The first thing to fix would be the character art. While some of my monster drawings straight up needed to be redone, the character art was universally horrendous. I've improved a lot since then and felt like I could make the characters look a LOT better.
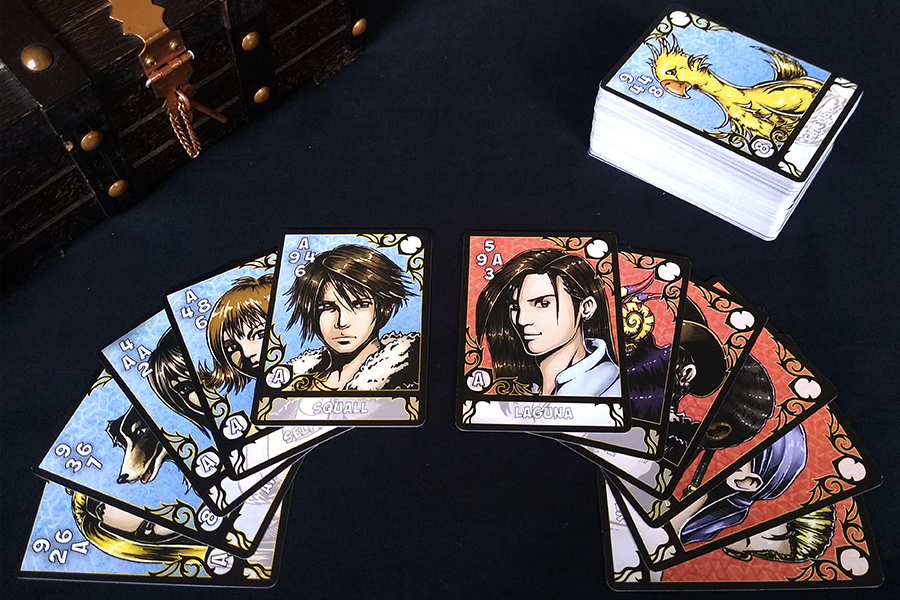
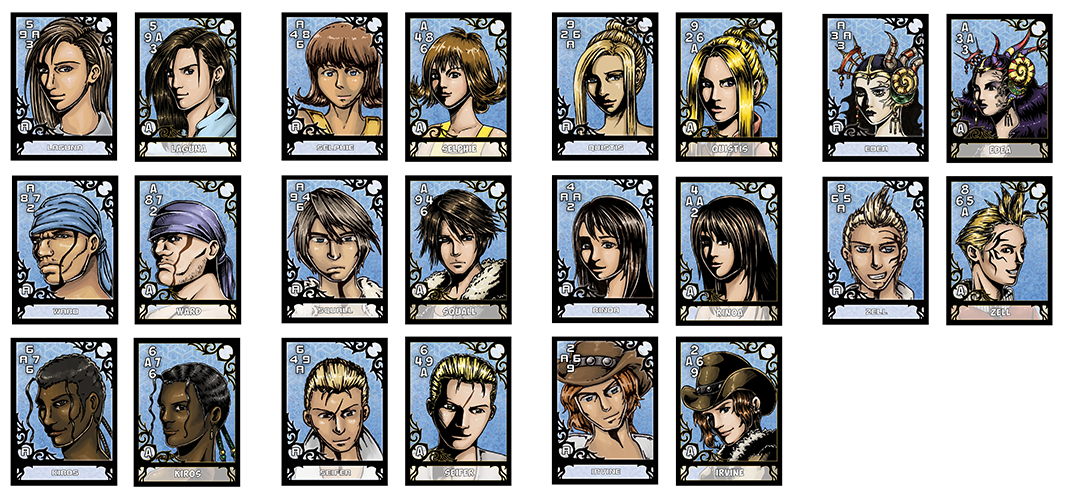 The redrawn character cards
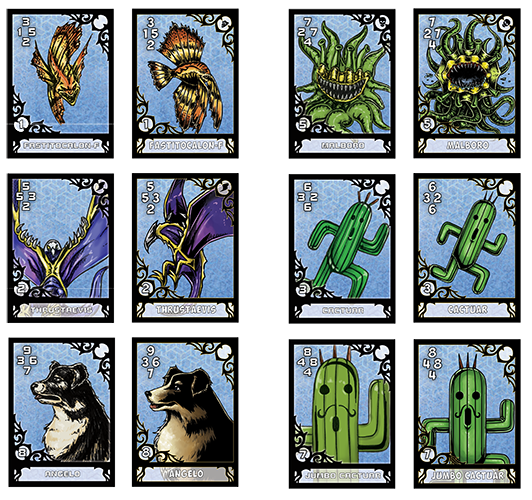 Some of the monsters that were re-drawn
Sometimes the drawings I had were ok but I felt needed touching up. Almost everything in the deck underwent this treatment to a small degree. A few other things you might notice in the side-by-side are that I changed the font to something that felt a little more "fun". The aesthetic wasn't very serious and the old font felt a little square. I also cleaned up the border and made the lines and points crisper and more consistent. As a side effect of this I was also able to add a thin gold border to keep the frame from bleeding into the artwork. On the old version I gave the border a subtle glow to address this issue, but I think this looks much better. I also updated a few of the elemental symbols; the ones for "earth" and "fire" were kind of messy and got facelifts.
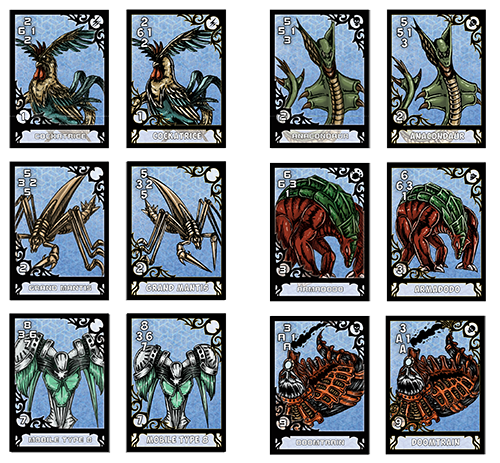 Monsters that were improved
The original Cockatrice I'd always really liked for its realism, however it didn't really fit with the rest of the deck and kinda looked off. I cleaned up some of the detail work, making the blacks more solid and added in a lot of highlights to really make it pop. The Grand Mantis was also cleaned up in a similar way; I added highlights and zoomed out the image a bit, and drew more of the limbs in because he looked a little odd. I also reversed the image so his tail wasn't being lost in the border. Mobile Type 8 was a symmetric creature with an asymmetric placement and drawing. so I zoomed out, added highlights, and fixed the artwork. Anacondaur has always had a weird perspective issue with its right claws; I finally got to fix that and even out his face a bit. Armadodo is, again, too big for the frame and looks awkward. I scaled him down and drew in the rest of his other leg. Finally Doomtrain has always looked like he was melting in the old one; he had this weird "squashed" look. I cleaned that up a bit and made the colors a little more vibrant.
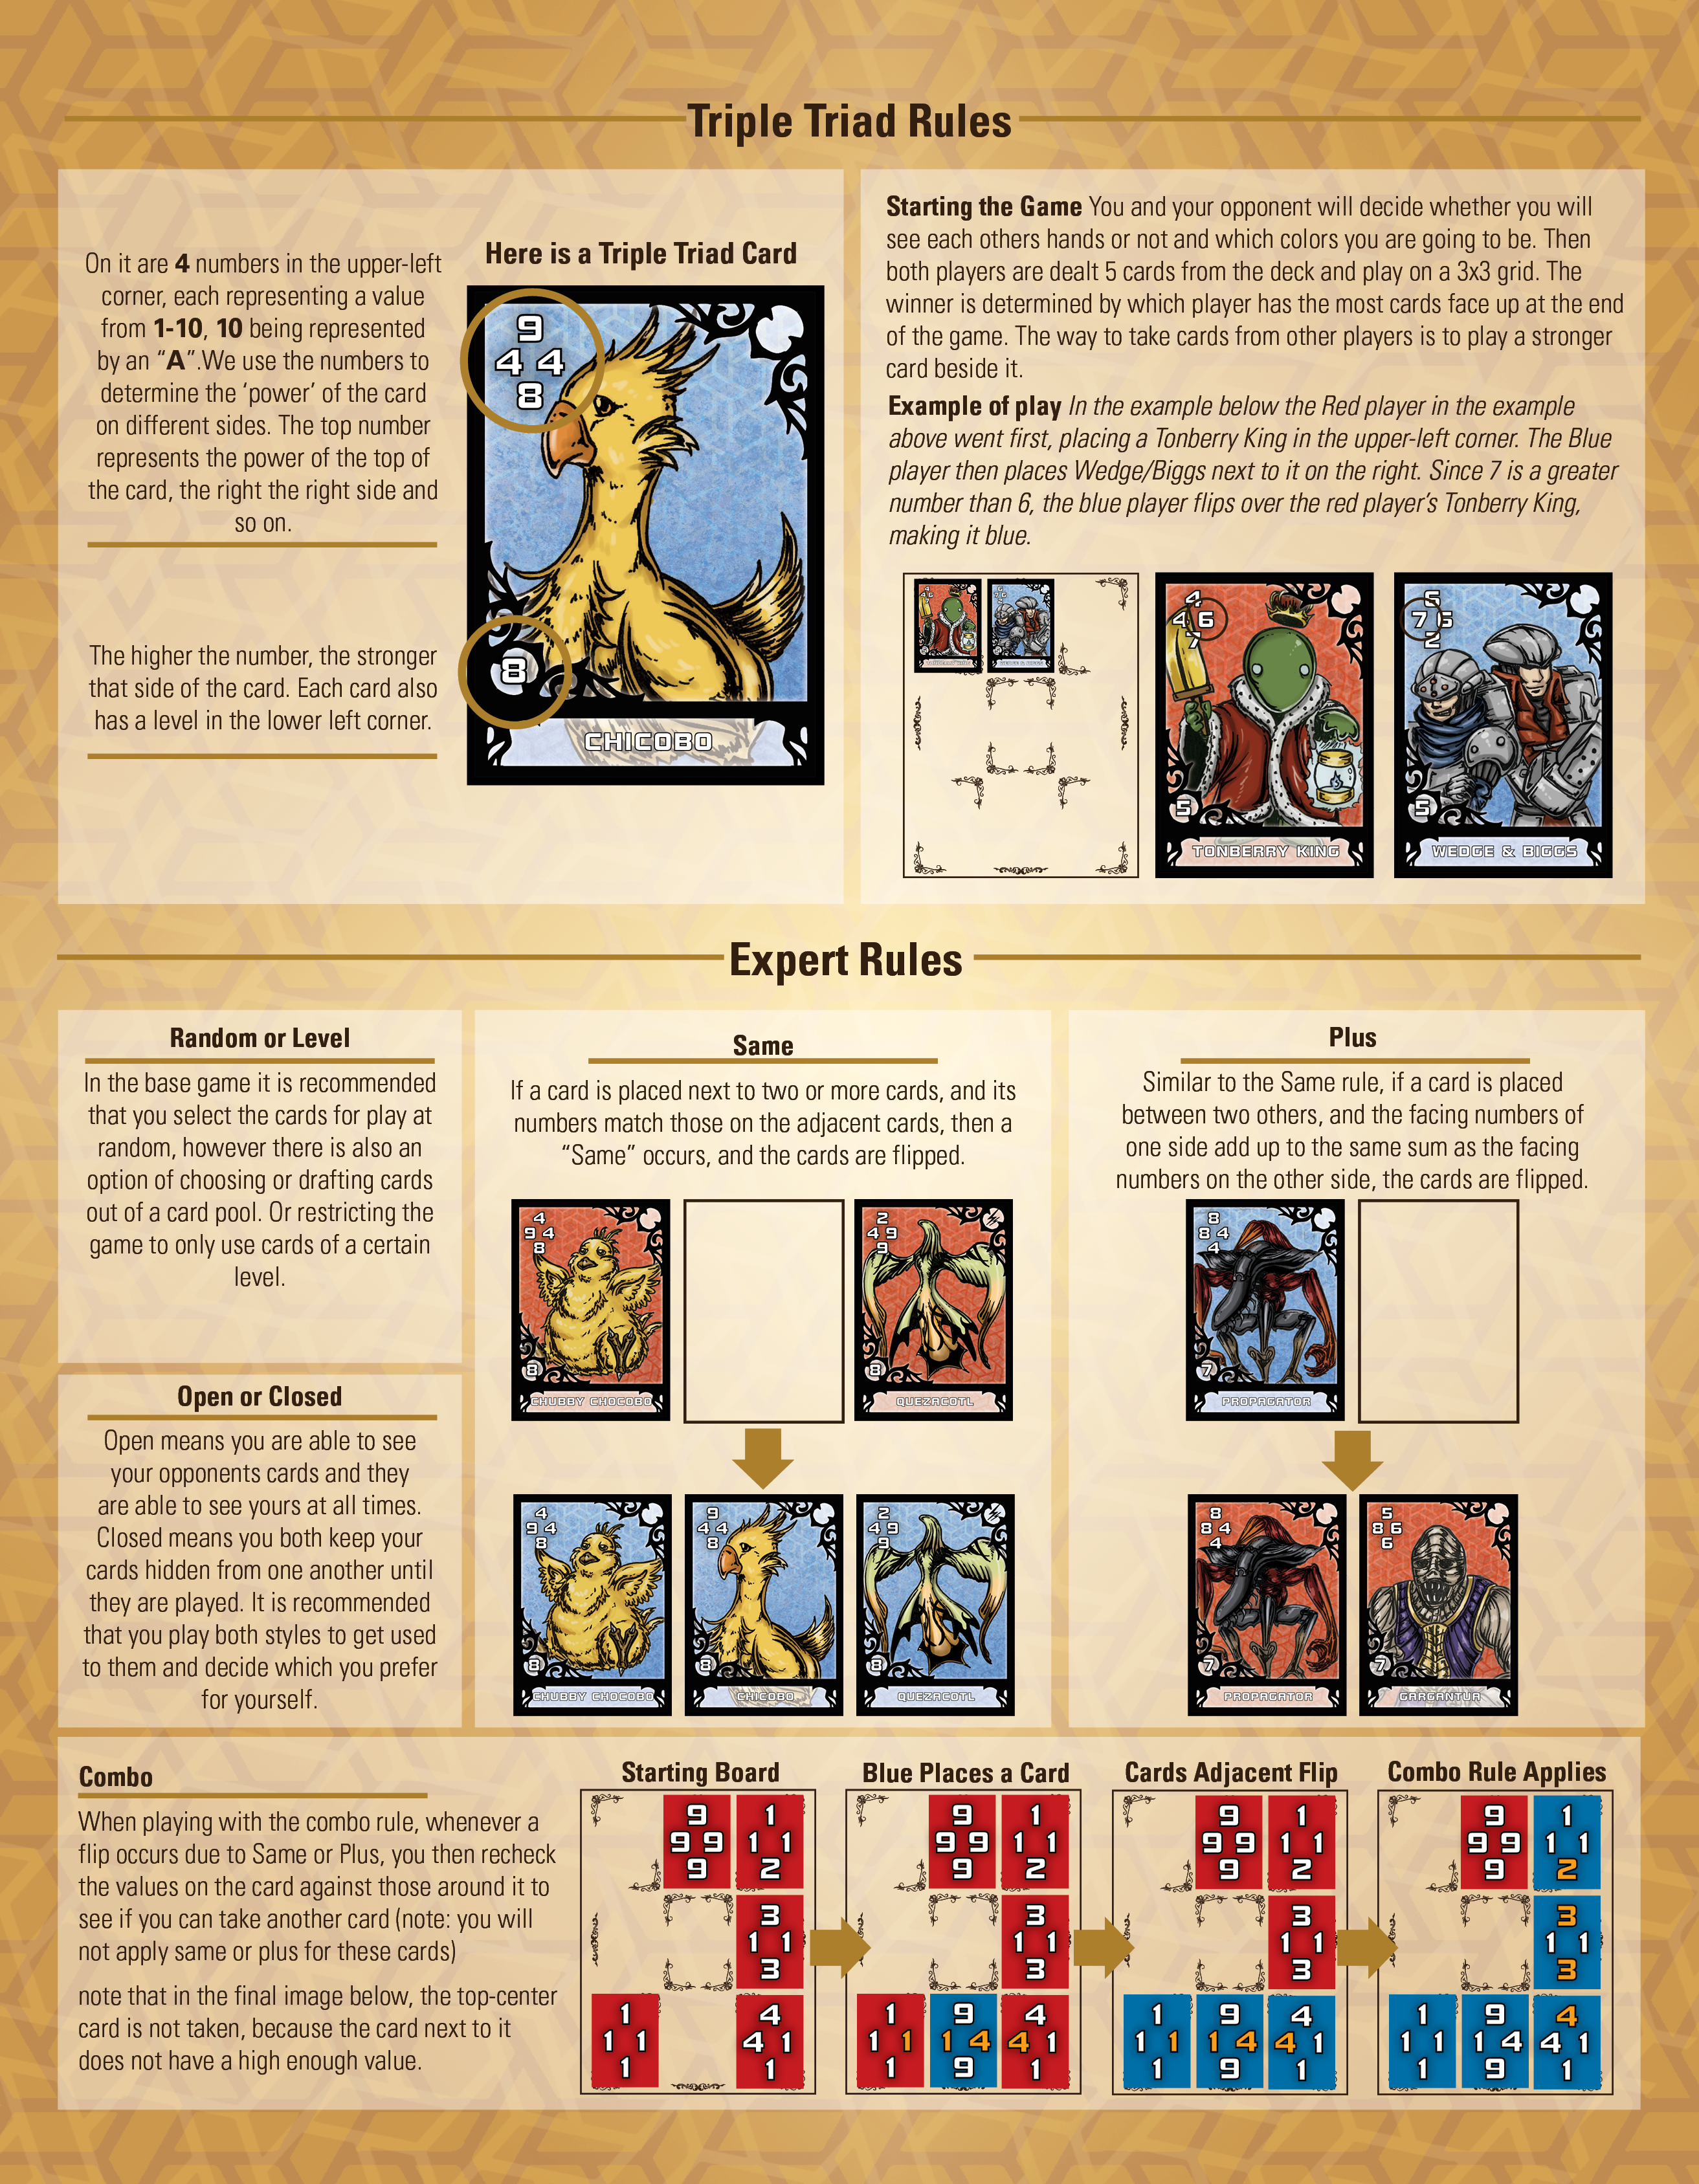
The next thing to revise was the instructions. I was ordering from a different company and was ordering in bulk enough that the costs for a nice booklet weren't too prohibitive.
 What a cute instruction booklet!
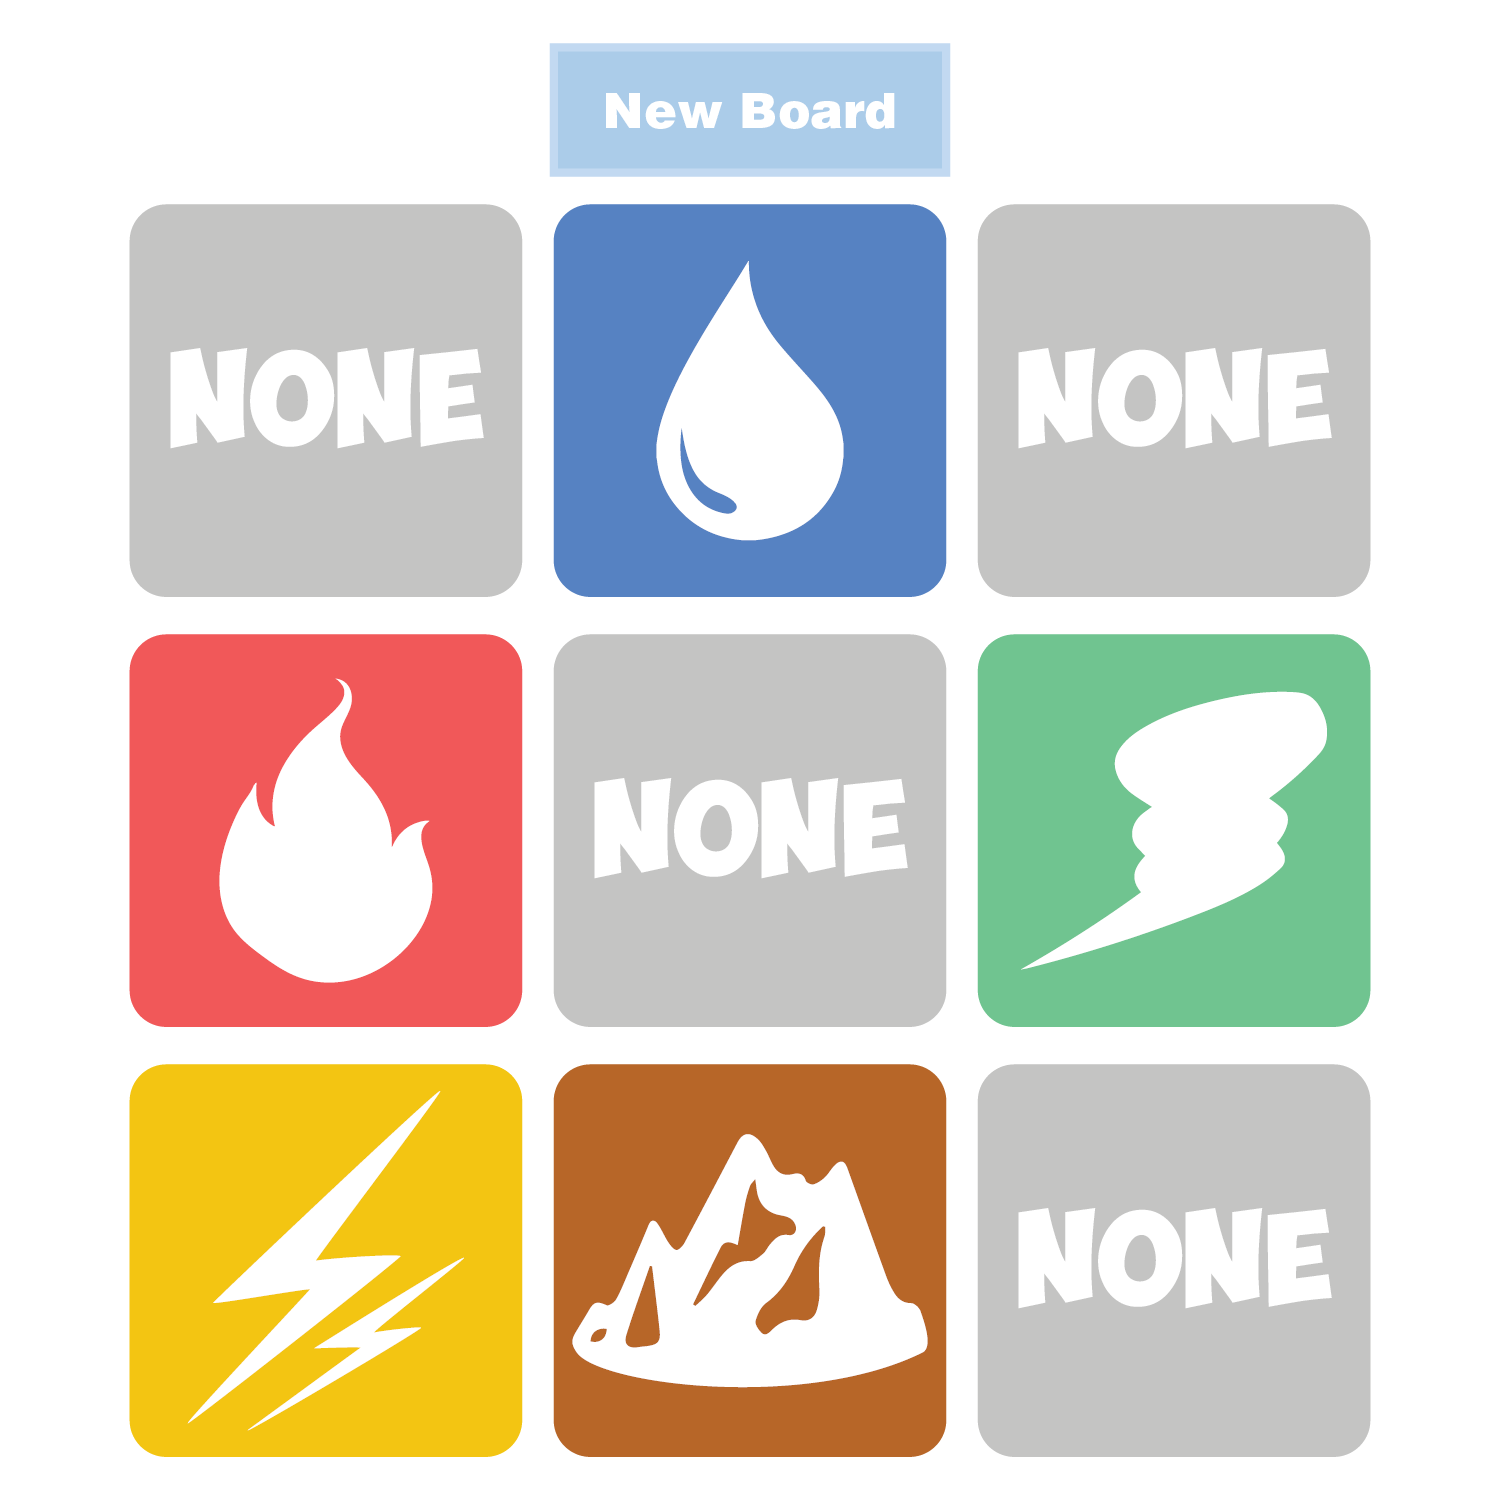
I had 20 pages to work with this time so I reworked the instructions to be clearer and to include better examples. I was also able to add instructions for the elemental variant, which I could never fit on the original. The original always felt a little incomplete because of the lack of any indication for how people were to implement the elemental rule, however now I not only have an analogue way to set up an elemental board, but I've also got a digital board randomizer available!
When I first created this project, getting custom card boxes was too cost-prohibitive due to the small print run. So instead I creatively decided to delicately wrap the sets in paper with twine and use a real wax seal to close it all up.
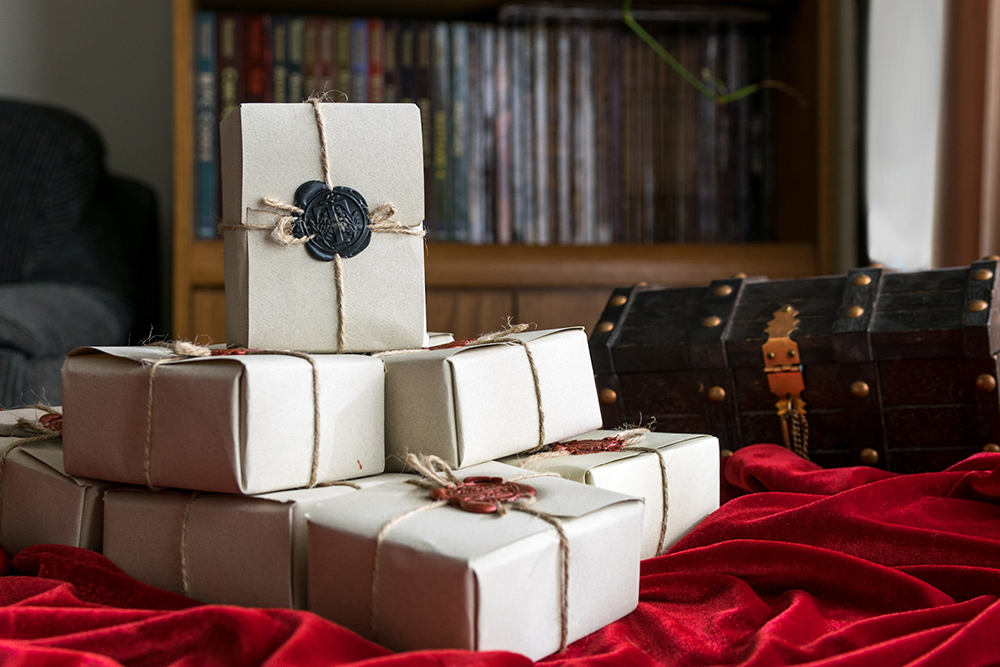 A stack of cute little decks!
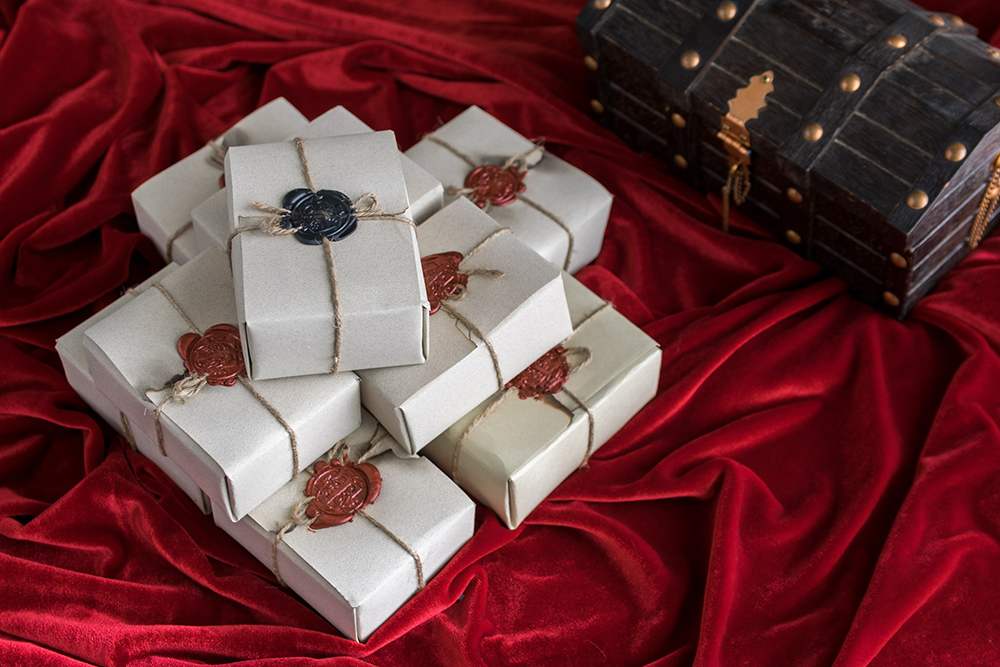 A shot from overhead
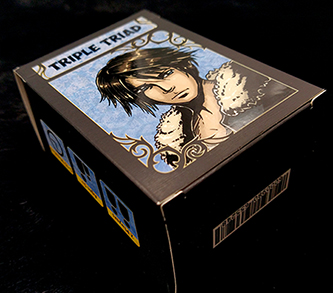
Now, four years later, I'm extremely busy with work and affixing that thousandth wax seal isn't quite as exhilarating as the first 100. Wax seals were not getting cheaper or easier but as I continued to order larger quantities boxes were getting cheaper. I finally designed a box that would hold everything, the paper mat, the cards and the instruction booklet. This part of the project I'm a little disappointed with, I think I could've done better here. The box overall looks really plain and unappealing, and I think in my next print run I'll definitely put something better together.
Fear not though, the wax seals aren't totally gone forever, I had some extra supplies lying around and decided to offer an option for people to get the new version wax-sealed. It's the best of both worlds! You get a super cute wax seal and a card box. Finally the last cool thing I did with this project was choosing to do some embossing on the box. The new printing company I'm with offers all the bells and whistles, and I am so into trying them all out. For this project I sprung for an embossed box and also decided to go for a linen texture on the cards to help them shuffle better.
Fear not though, the wax seals aren't totally gone forever, I had some extra supplies lying around and decided to offer an option for people to get the new version wax-sealed. It's the best of both worlds! You get a super cute wax seal and a card box. Finally the last cool thing I did with this project was choosing to do some embossing on the box. The new printing company I'm with offers all the bells and whistles, and I am so into trying them all out. For this project I sprung for an embossed box and also decided to go for a linen texture on the cards to help them shuffle better.
 The card box
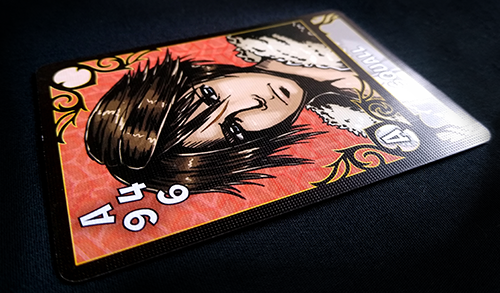 Linen Texture
In addition to upping my print game, I also thought I'd make some bonus items for the game as well. People online kept asking me about playmats and sleeves, so, well, I decided to make those. The sleeves were a bit of a challenge; I was wrestling with the design for a while. I went through a few trashed designs and ended up on this one. It took me a while to actually send off for the sleeves because the minimum order quantity was so high, but eventually I felt like it was worth it.
.jpg)
.jpg)
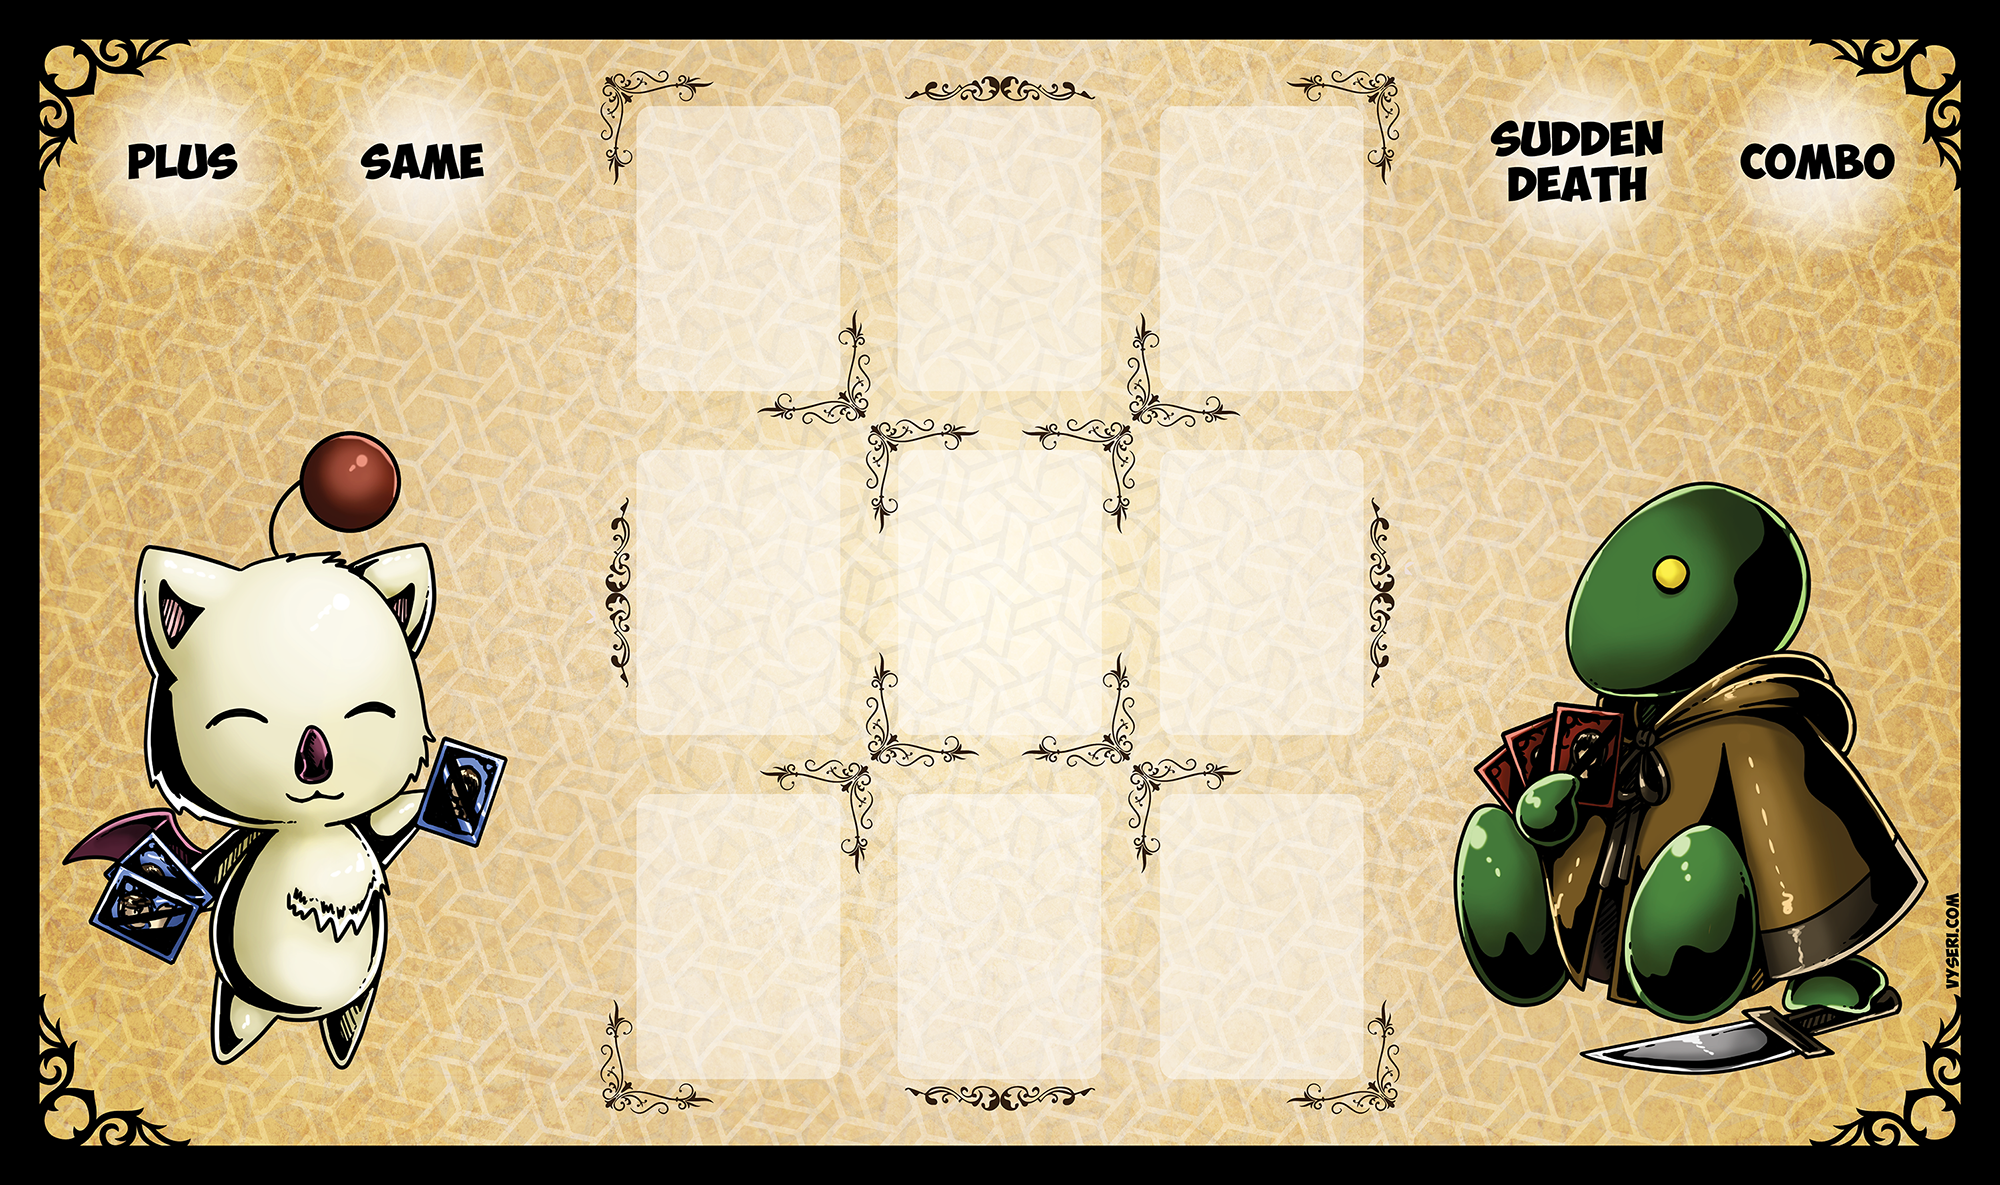
I already knew a playmat manufacturer, so I whipped up a cute piece of artwork and sent it off to the printer!
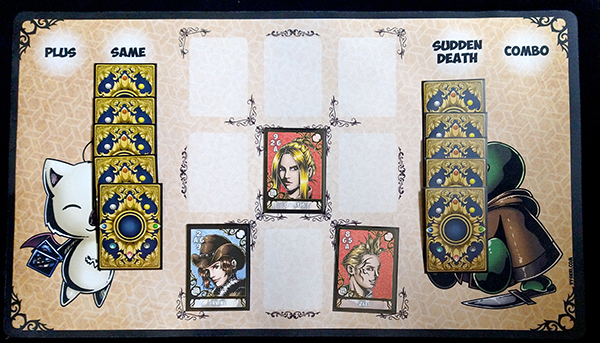 The playmat
Reflection
I'm glad I touched it up, and am really glad I made the add-ons. As I continue to improve as an artist and a designer, fixing up old projects really helps me to see how much I've improved, but also how much I can improve in the coming years. I'm really excited about how much better it looks and feels now!
View Full Set: Blue | Red
Full Playmat
Elemental Board Randomizer
Purchase on Etsy
Purchase on Ebay